

Yesterday I mentioned that I will be styling the tree above. I must say I did not think it through. I made the announcement in the morning not knowing what life was going to throw my way. First I needed to take my wife and daughter to the gym after that I needed to still help prepare dinner. When we spent time eating and I finally put my daughter to sleep at 20:00. Now I could spend time working on styling the tree.
The second challenge came to me as I entered the garage to set up my work space to work on the tree. I did not have a heat gun or soldering iron to warm up the deadwood with to bend it in shape. So I called my father. He was not home so I could not collect one from his shed. My wife then mentioned that my daughter has a hair iron that she uses to straighten her hair. I had no choice but to use this.
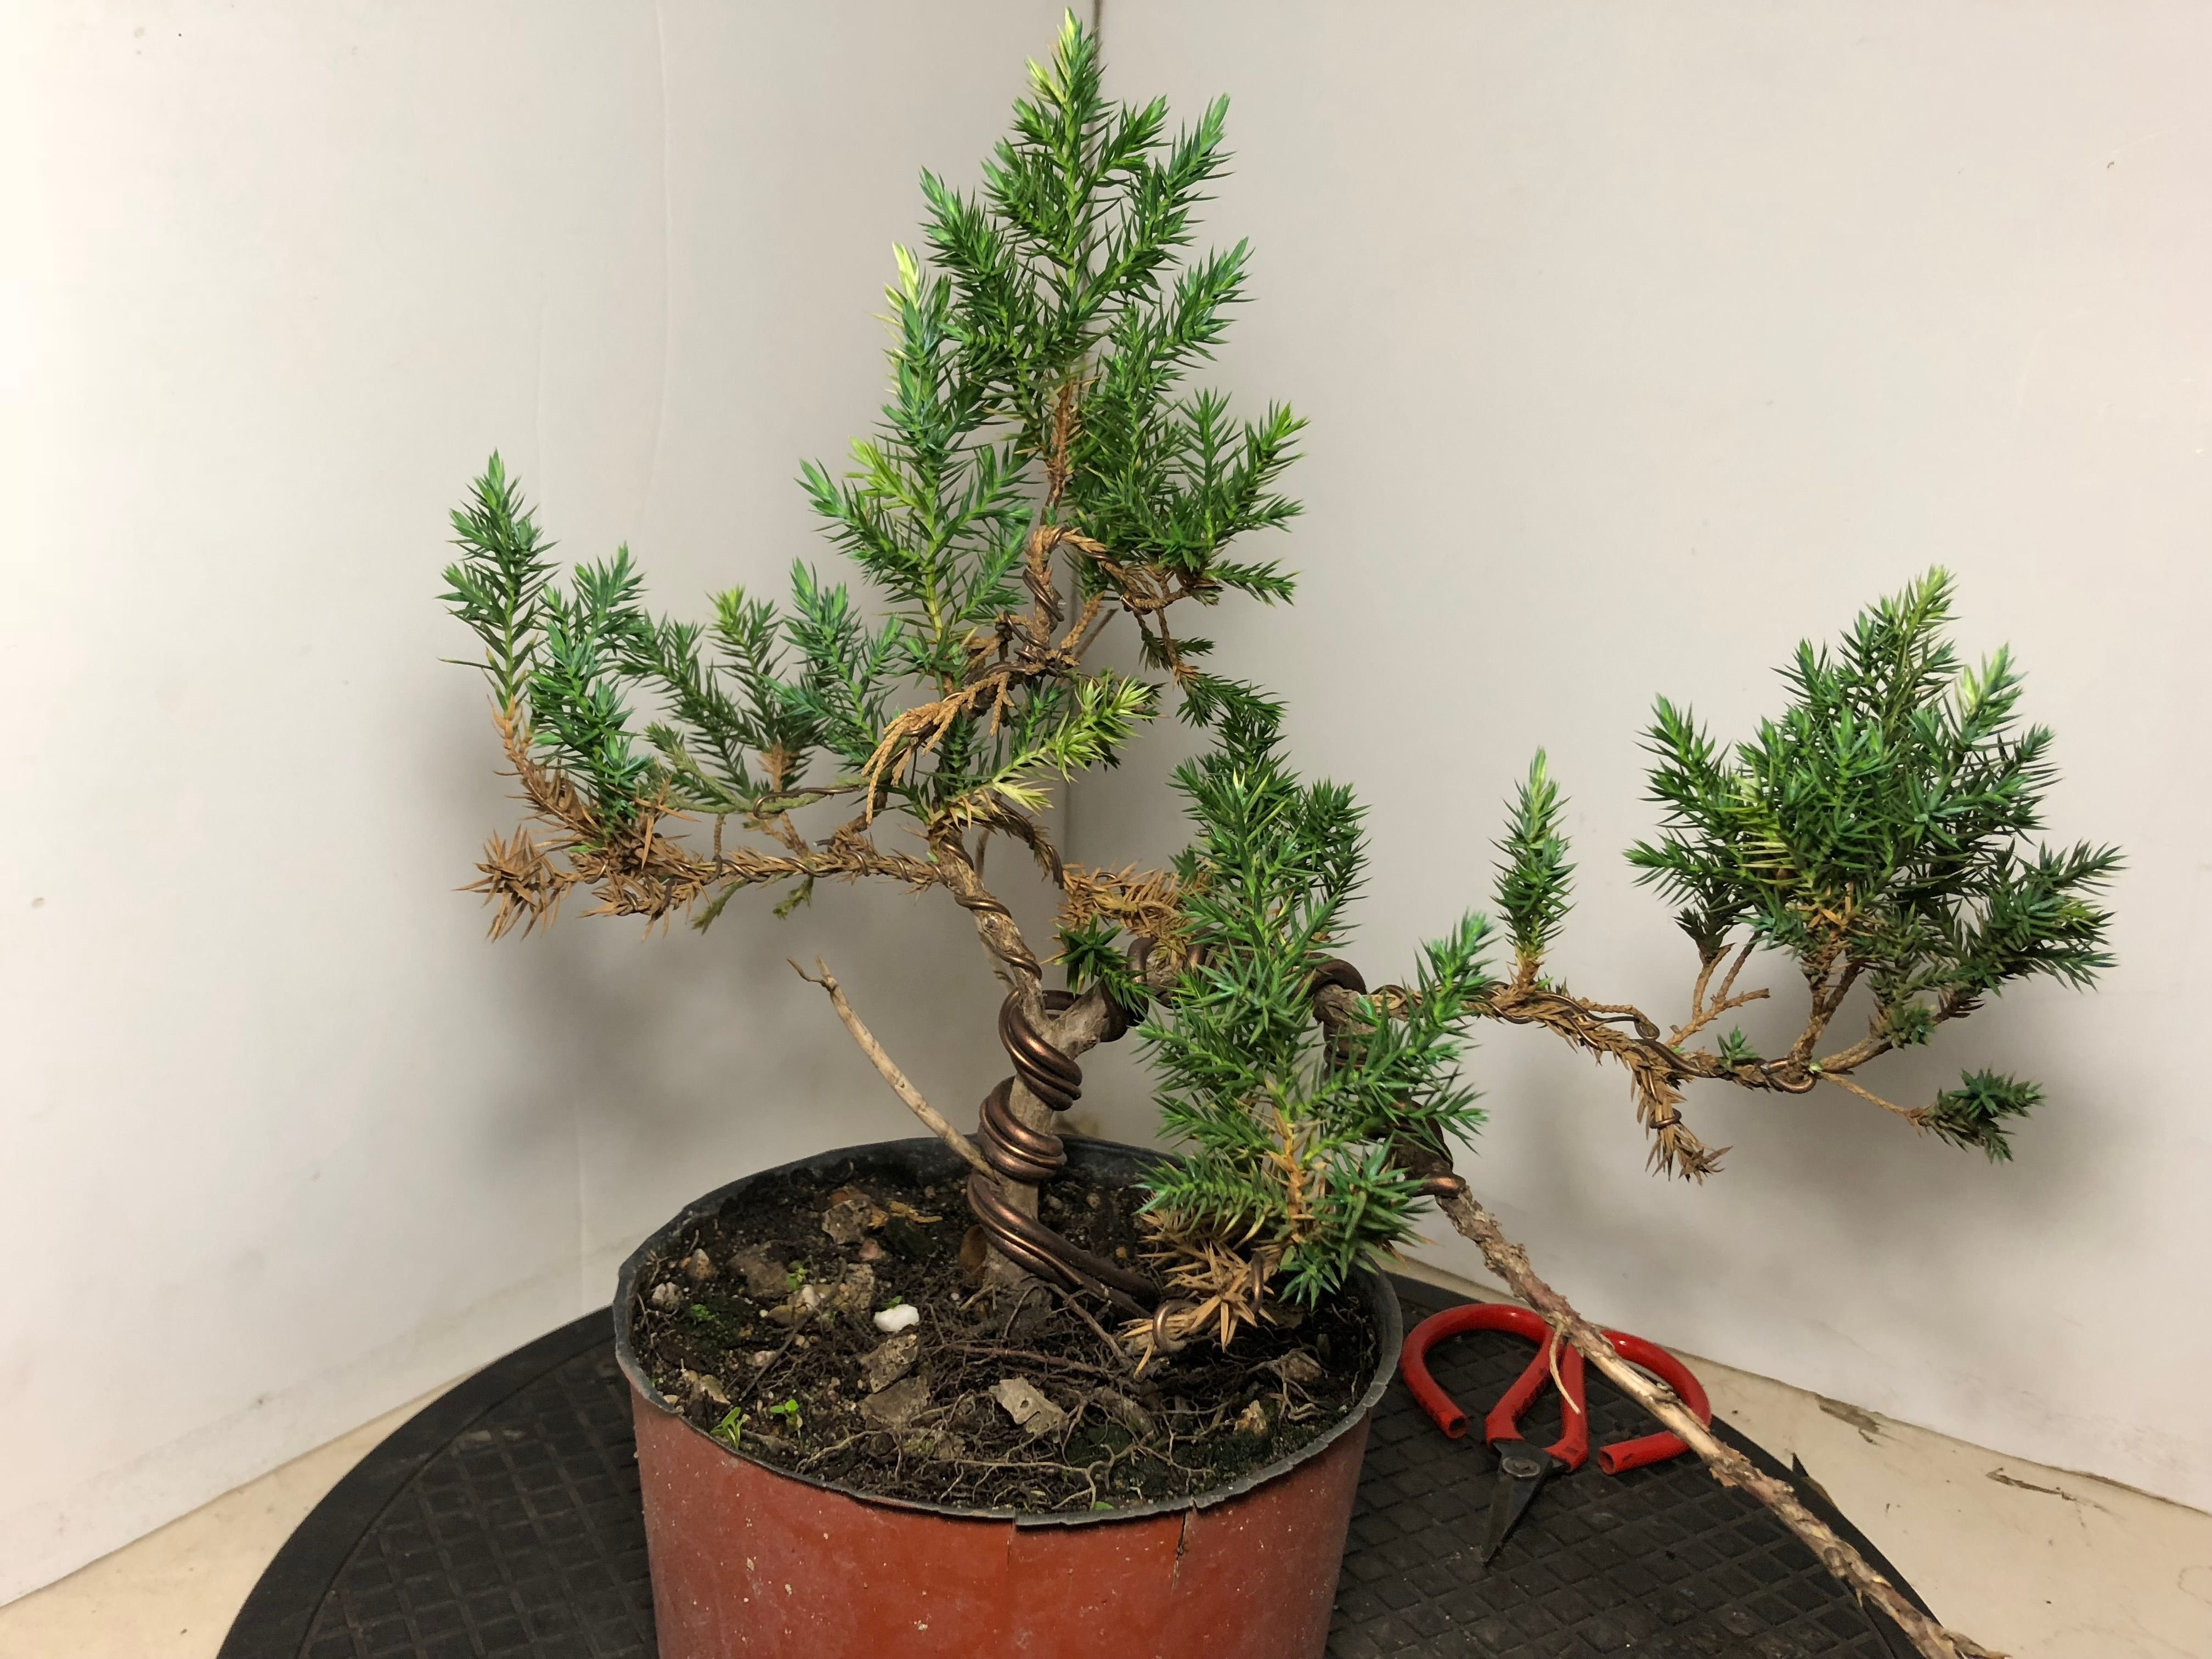
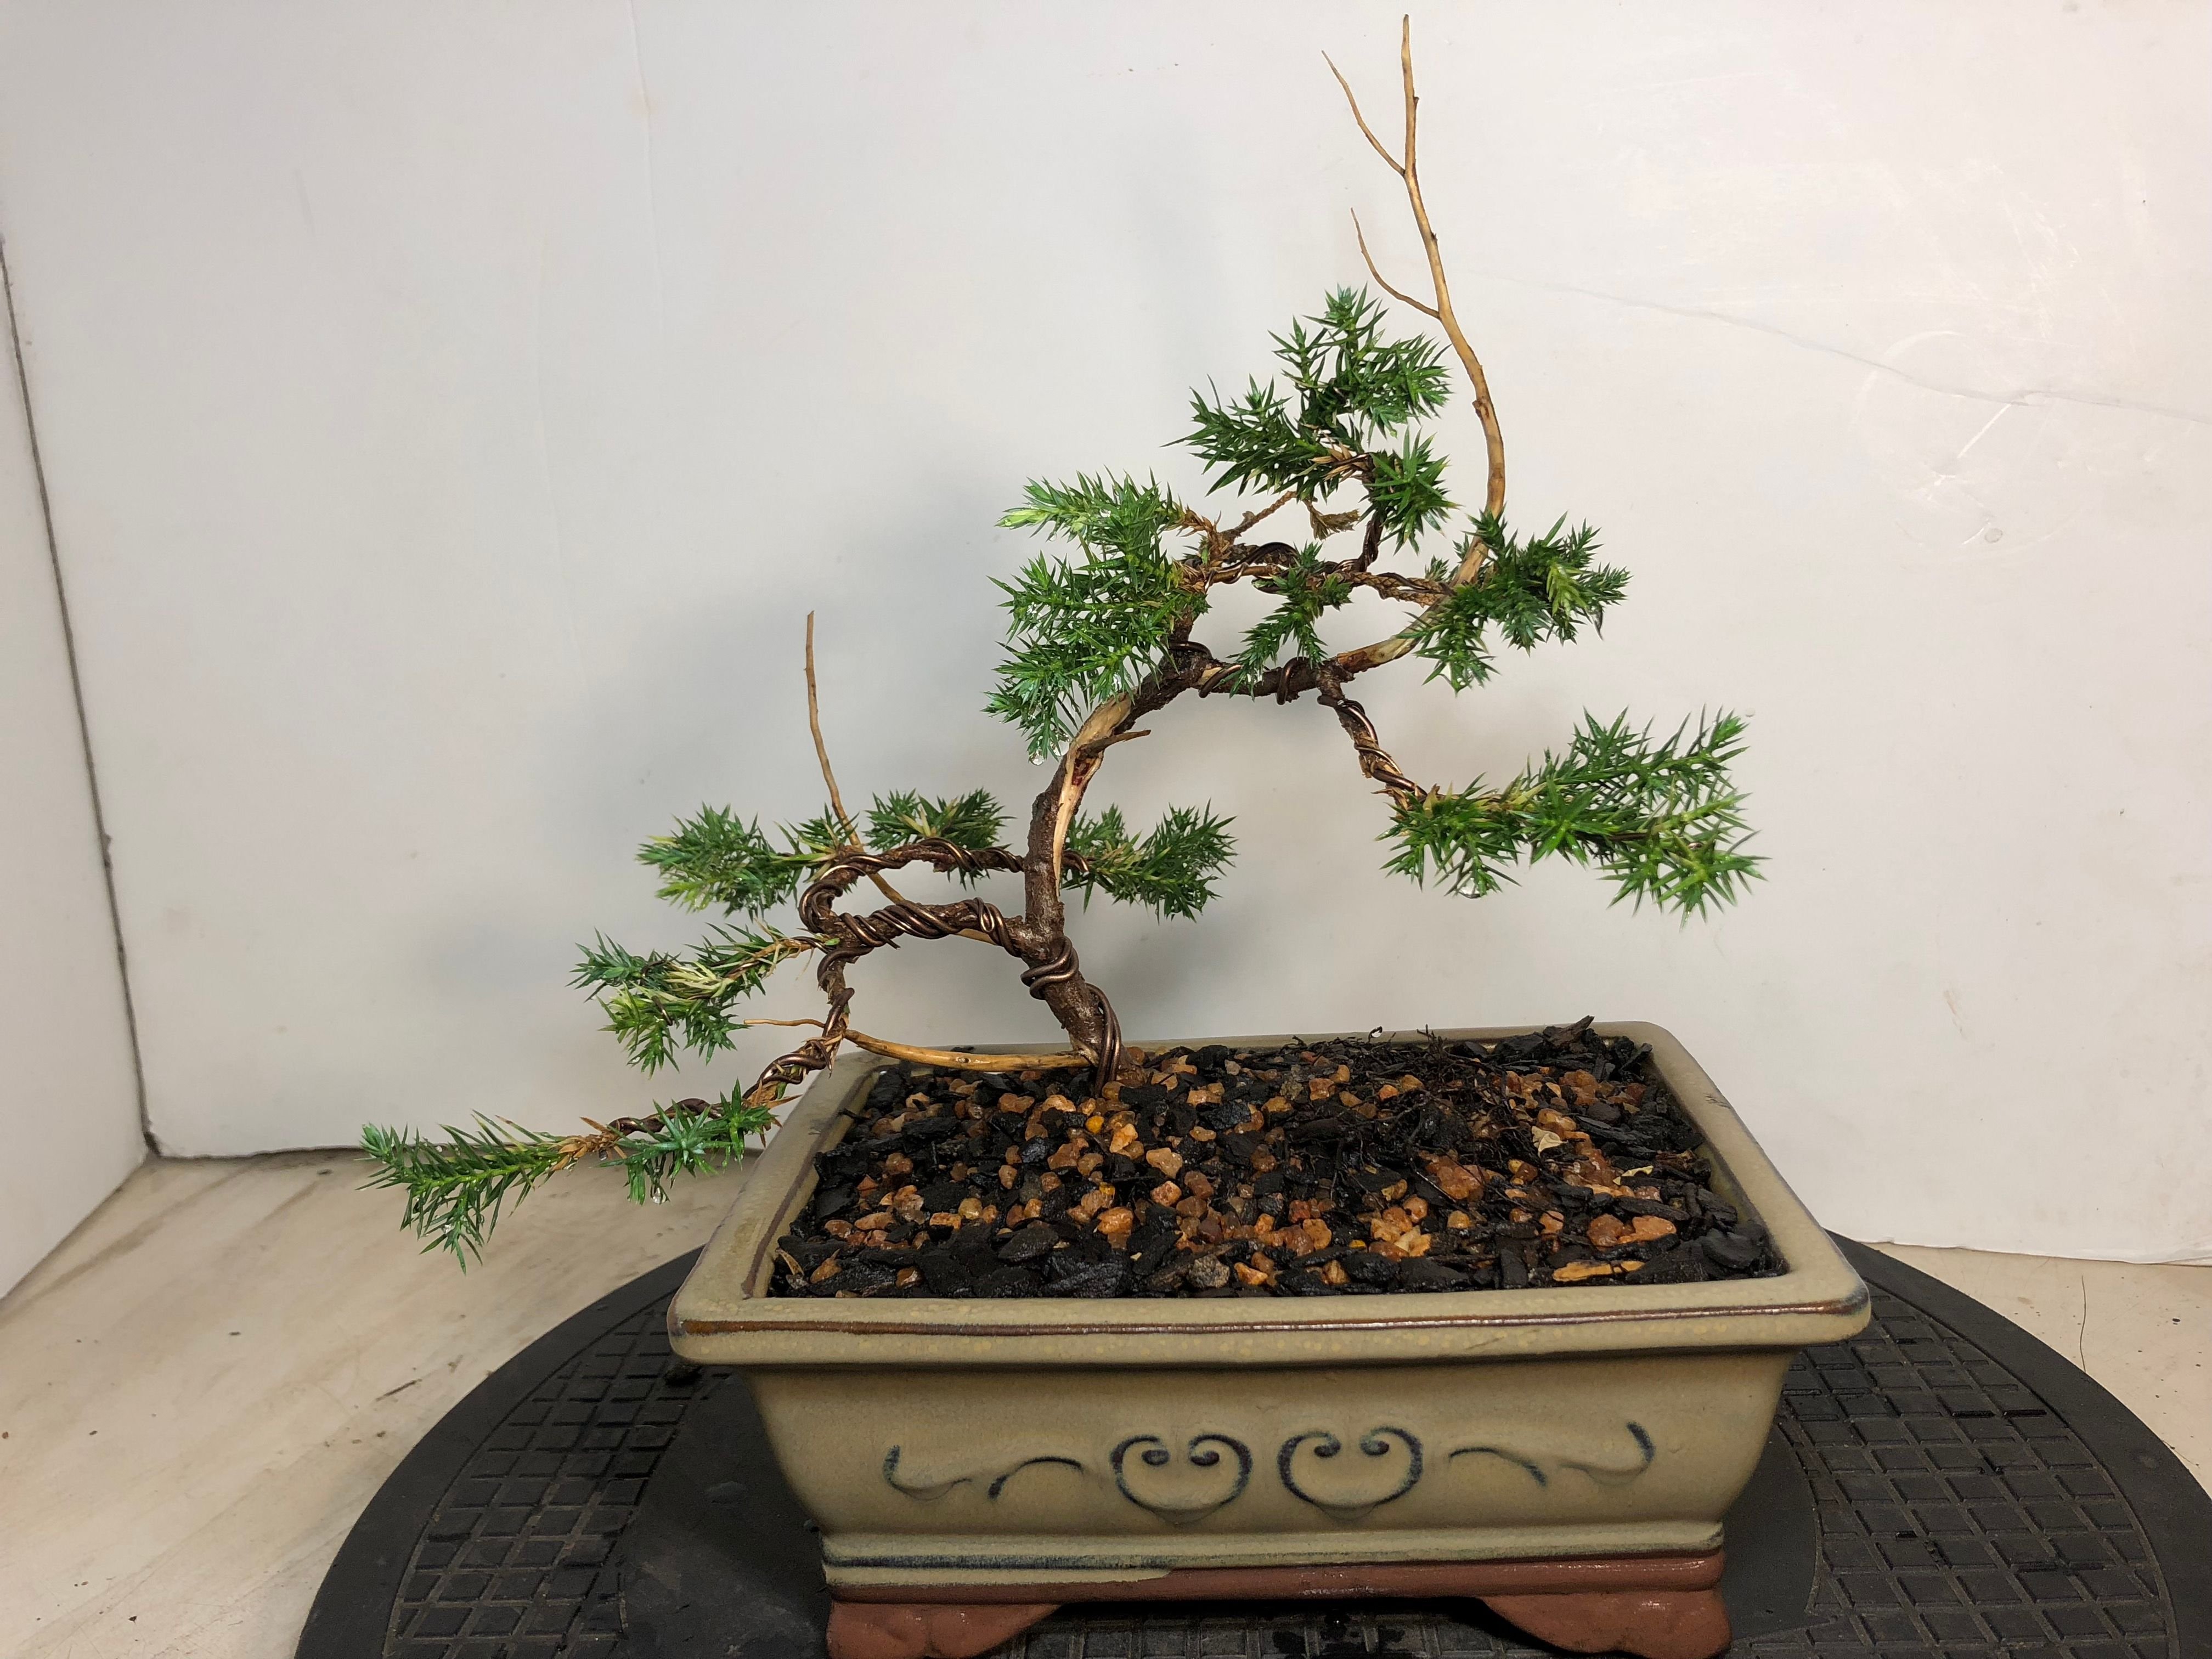
This is the tree before any work was started on the tree. The branches have grown untrimmed for a couple of months now so the initial design was out the door. The long dead branch to the right has died off not long after I did the first styling of this tree. There was just to much bends in the tree. I have this thing where most of the trees I design in competitions or from nursery stock has two trunks. I did not notice it till someone mentioned it to me a while back. This was one of those trees it had a branch that cascade down to the right and the left went up in a informal upright style. Luckily the branch to the right died off so the tree needed to be redesigned. I wanted to brake free from my normal mold and try something new. I forced my self to mention in the announcement video that I will be using the deadwood in my design. This was easier said than done I soon realized.
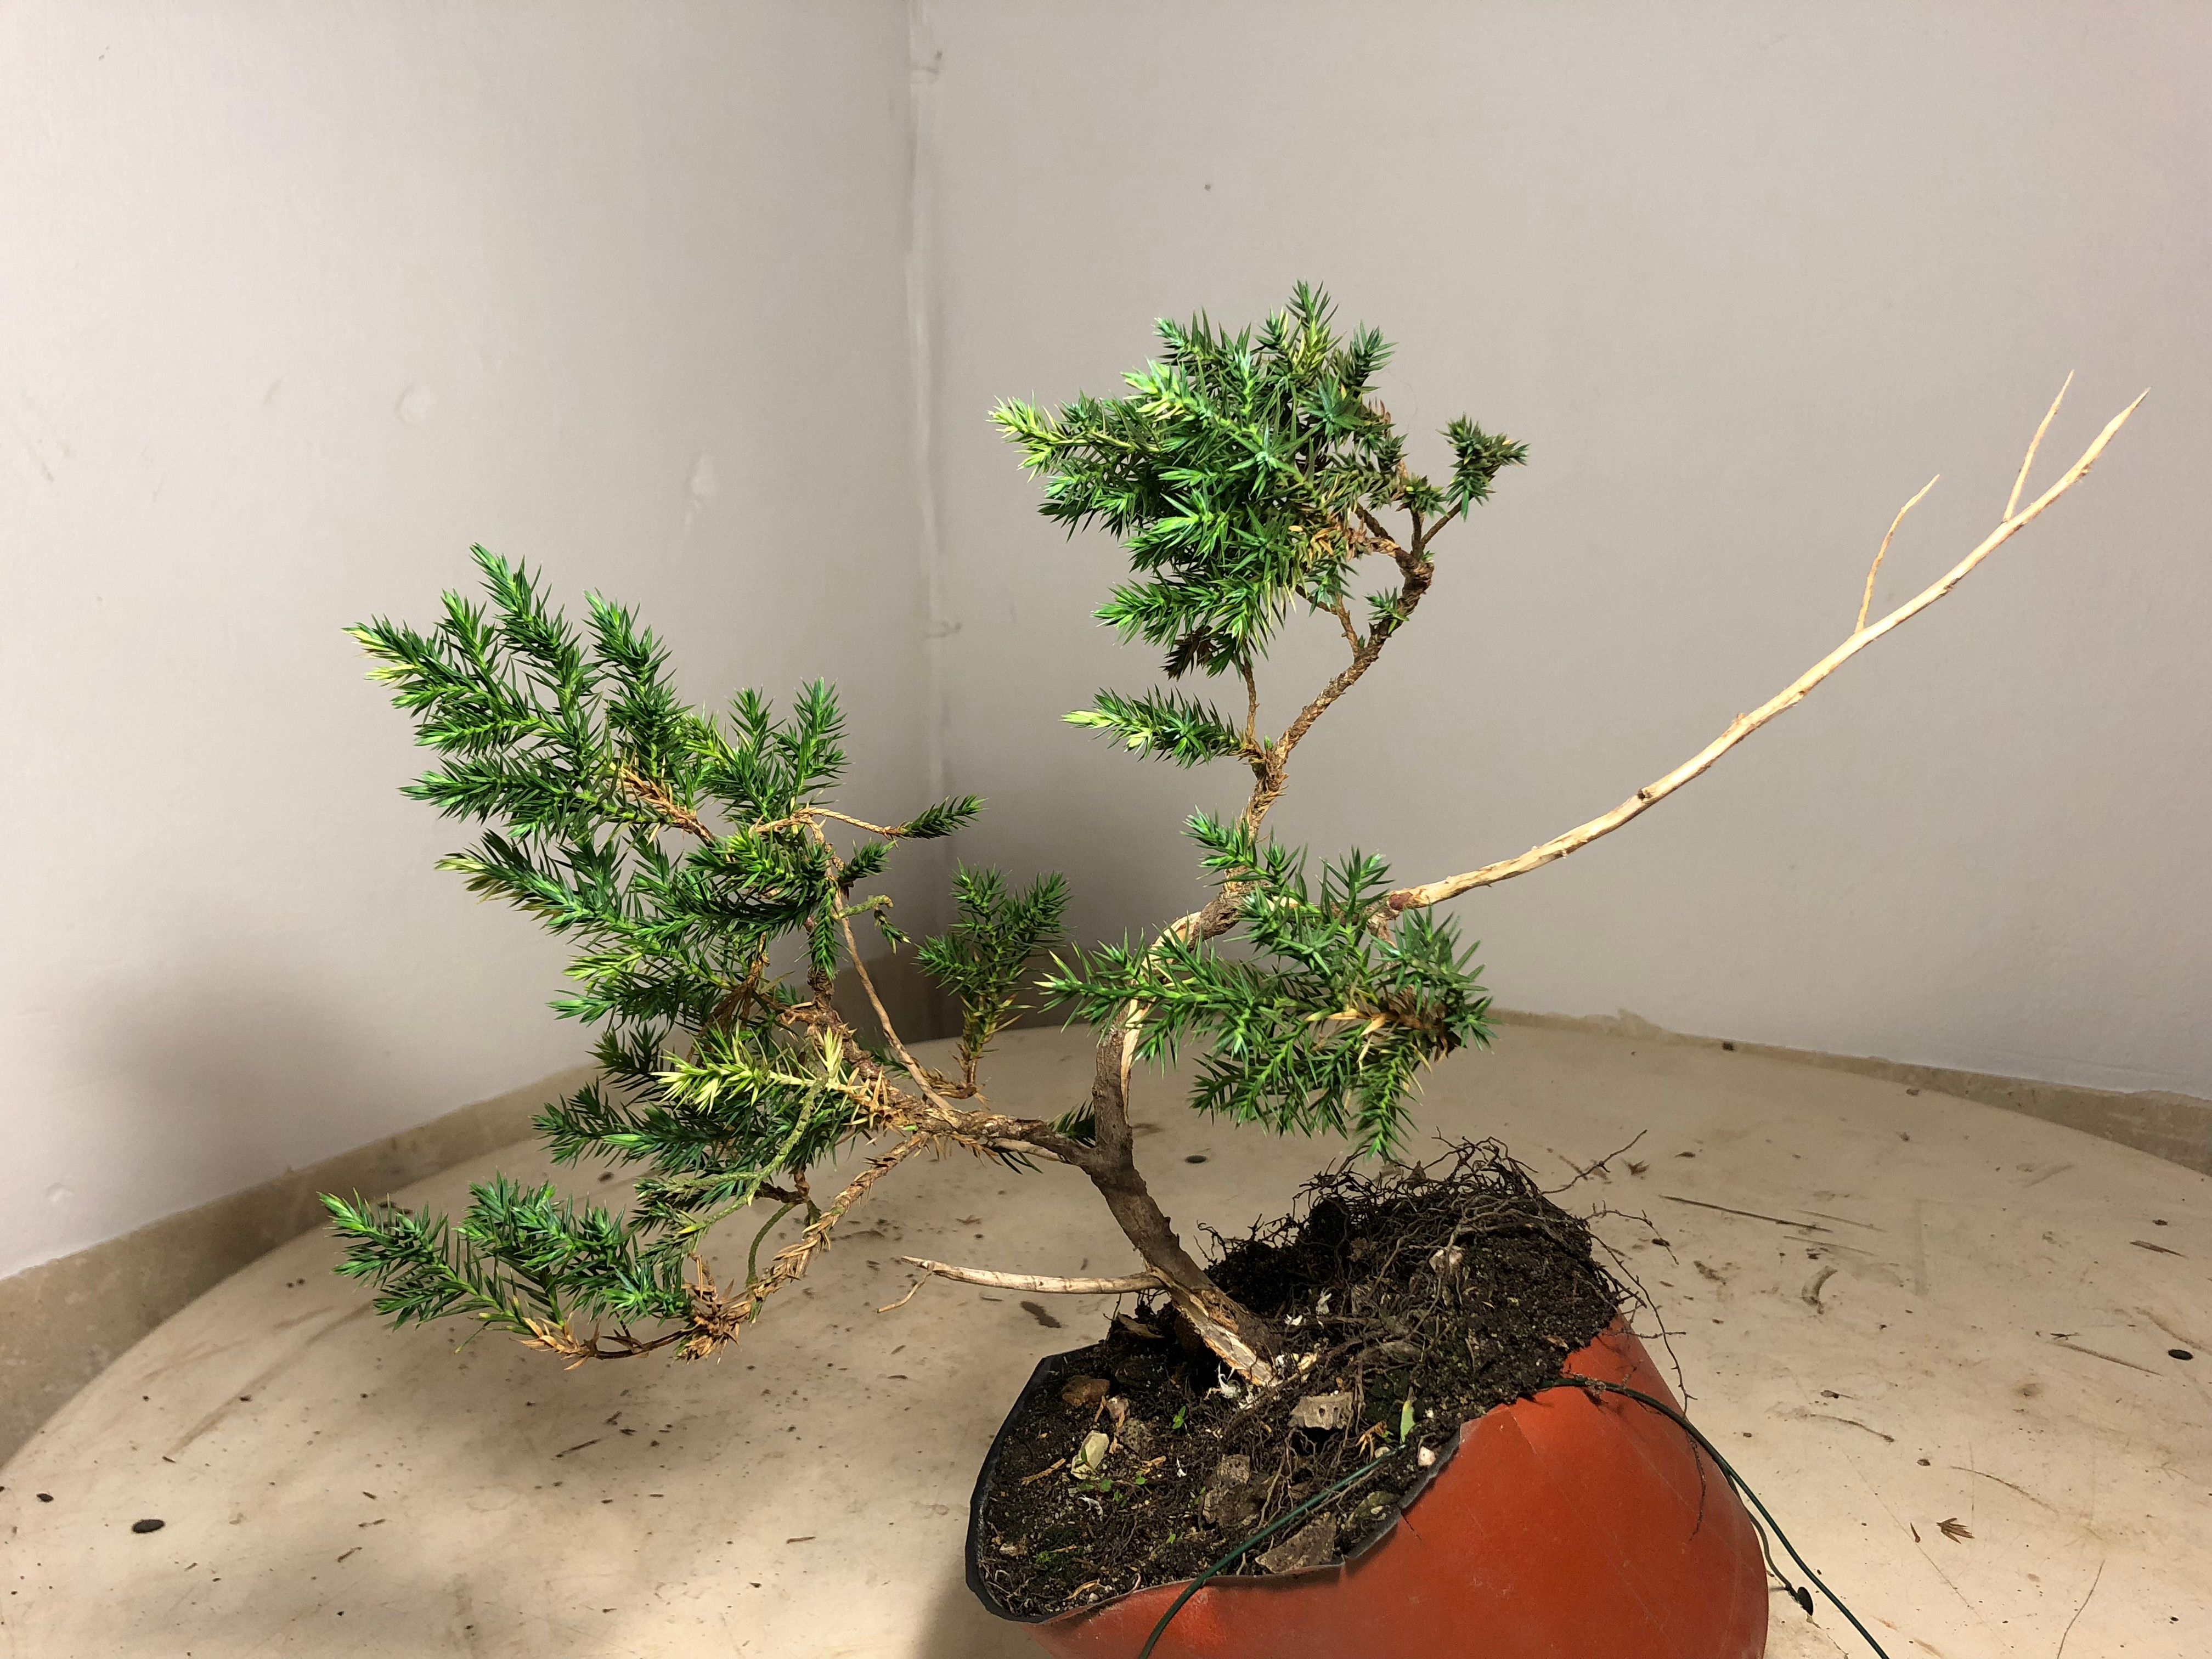
The tree after I cleaned up the deadwood and carved into the bark.
The tree after I bent the deadwood.
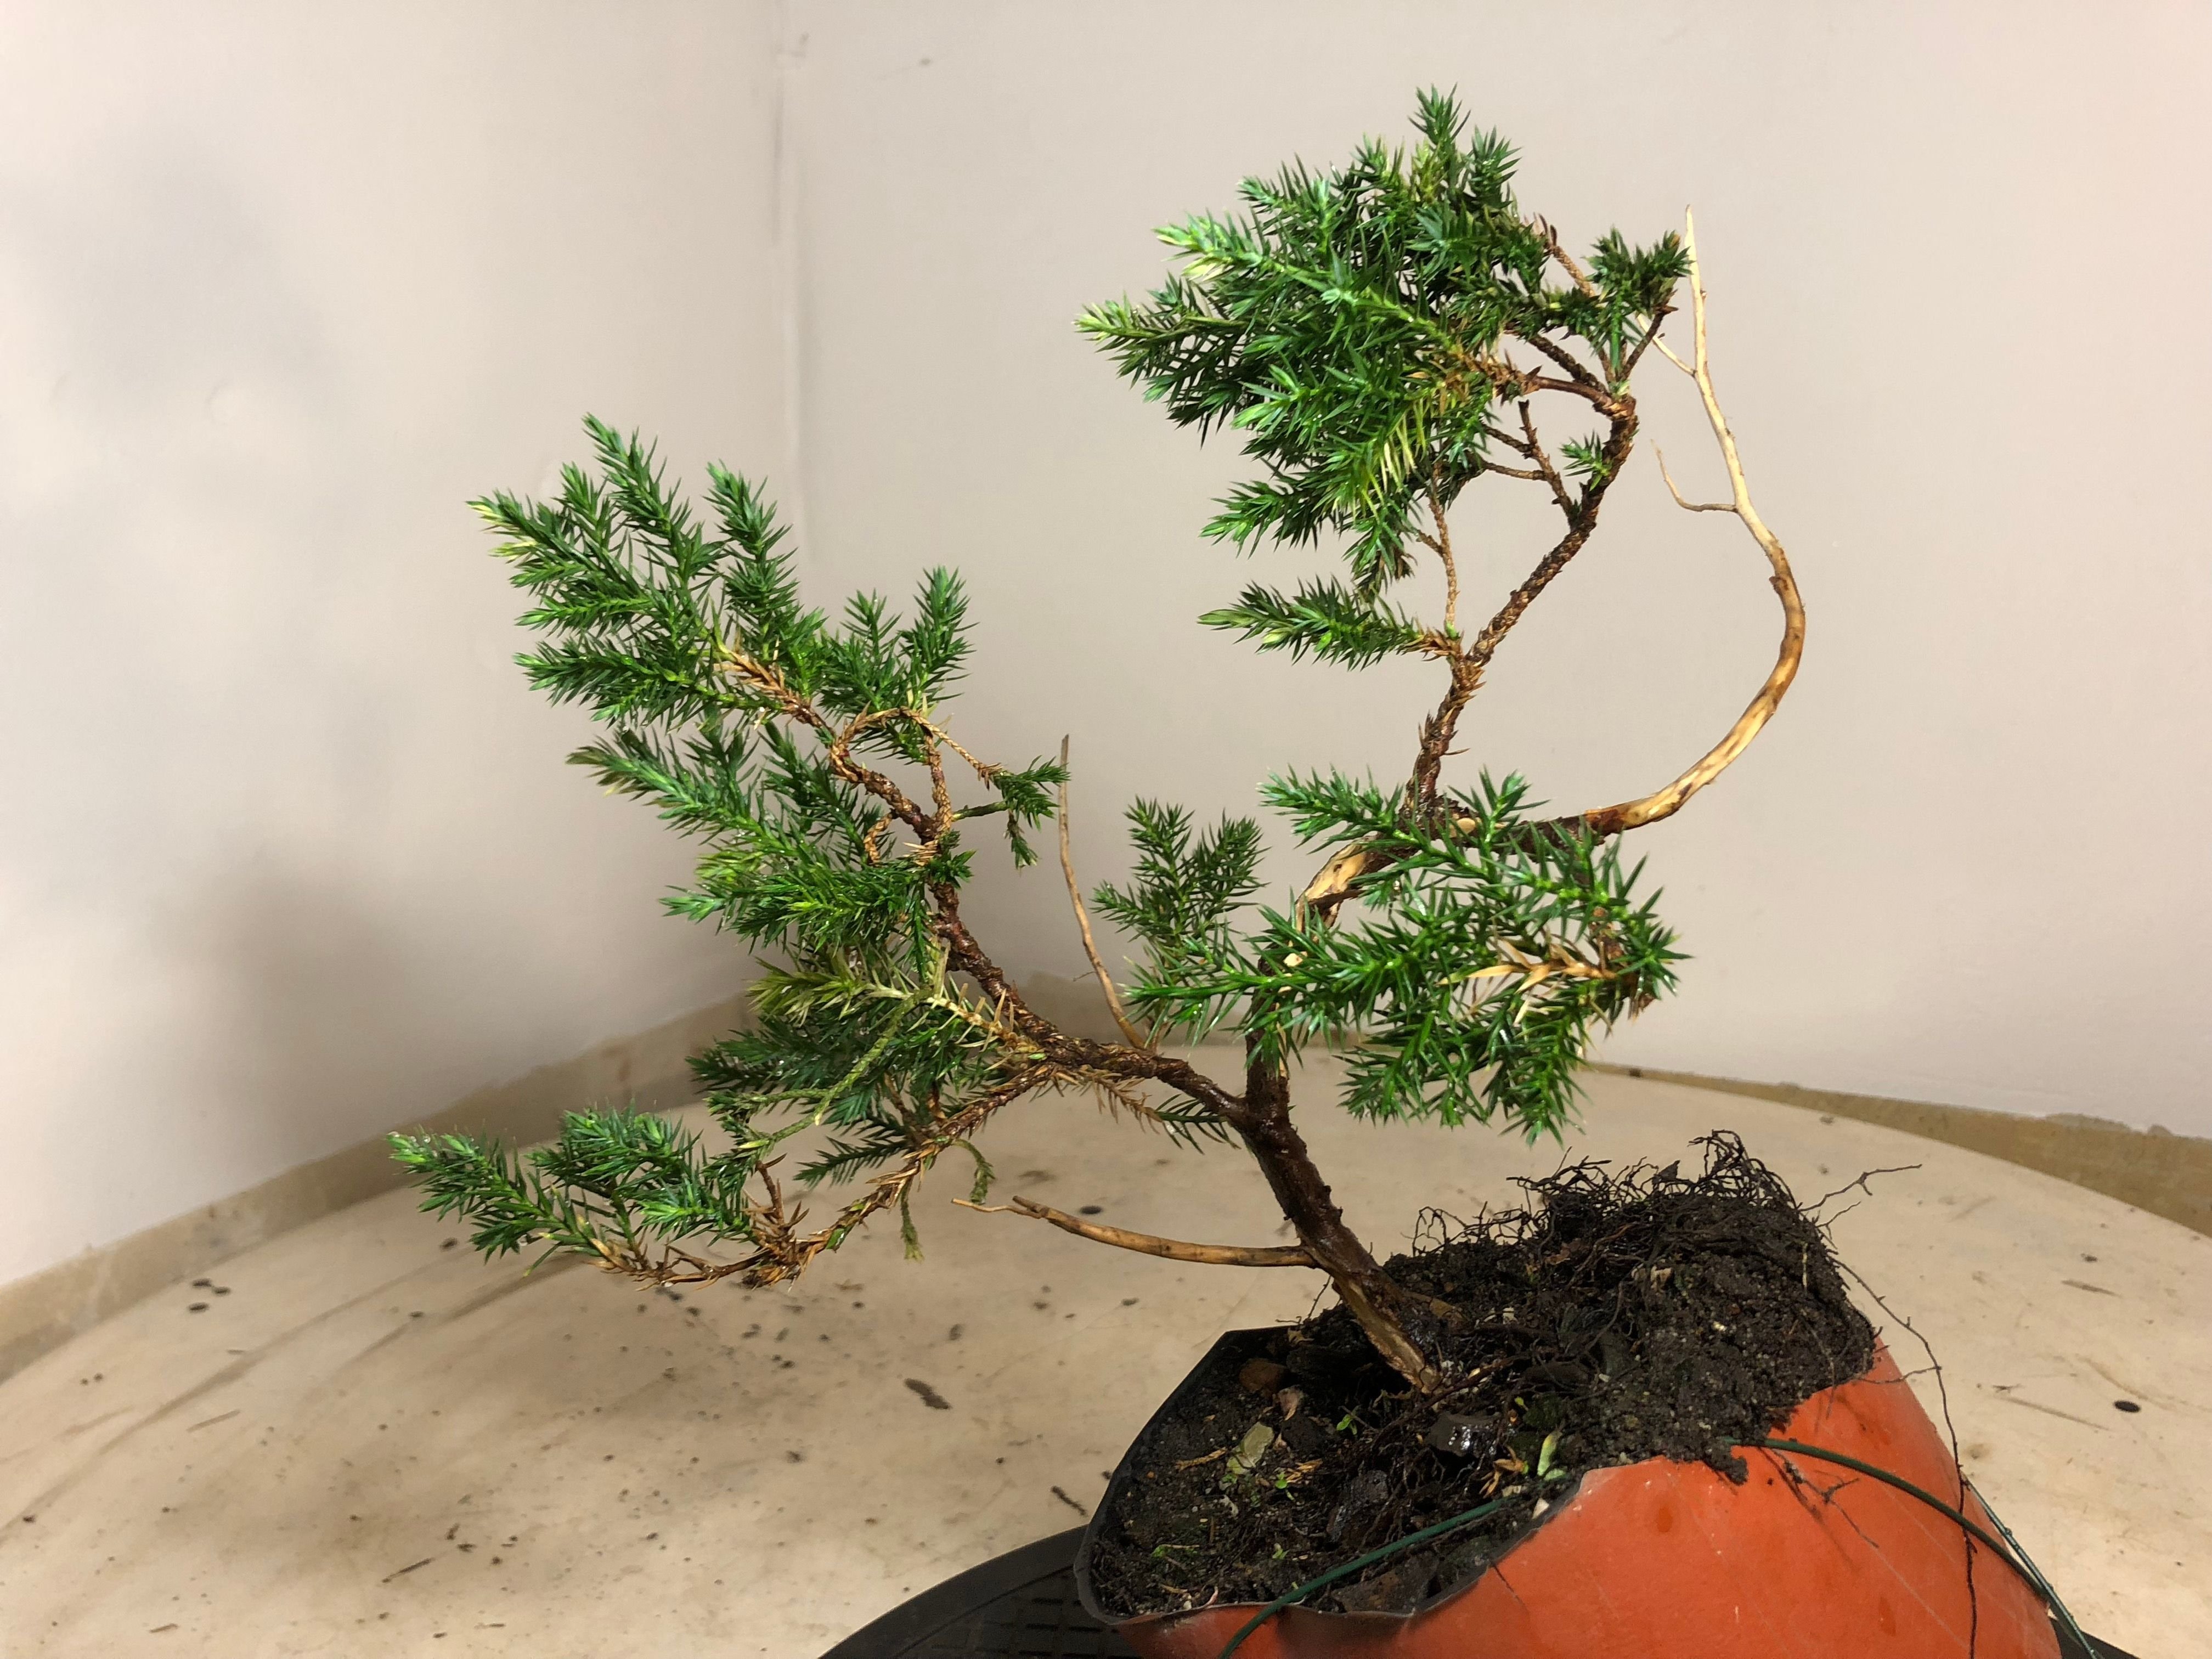
After about twenty minutes of steaming the deadwood with the hair iron I was done with the bending. It was a long tedious process. I wondered if I should not styling the tree in stages and then make it an series of blogs but I decided against this and carried on with the designing.
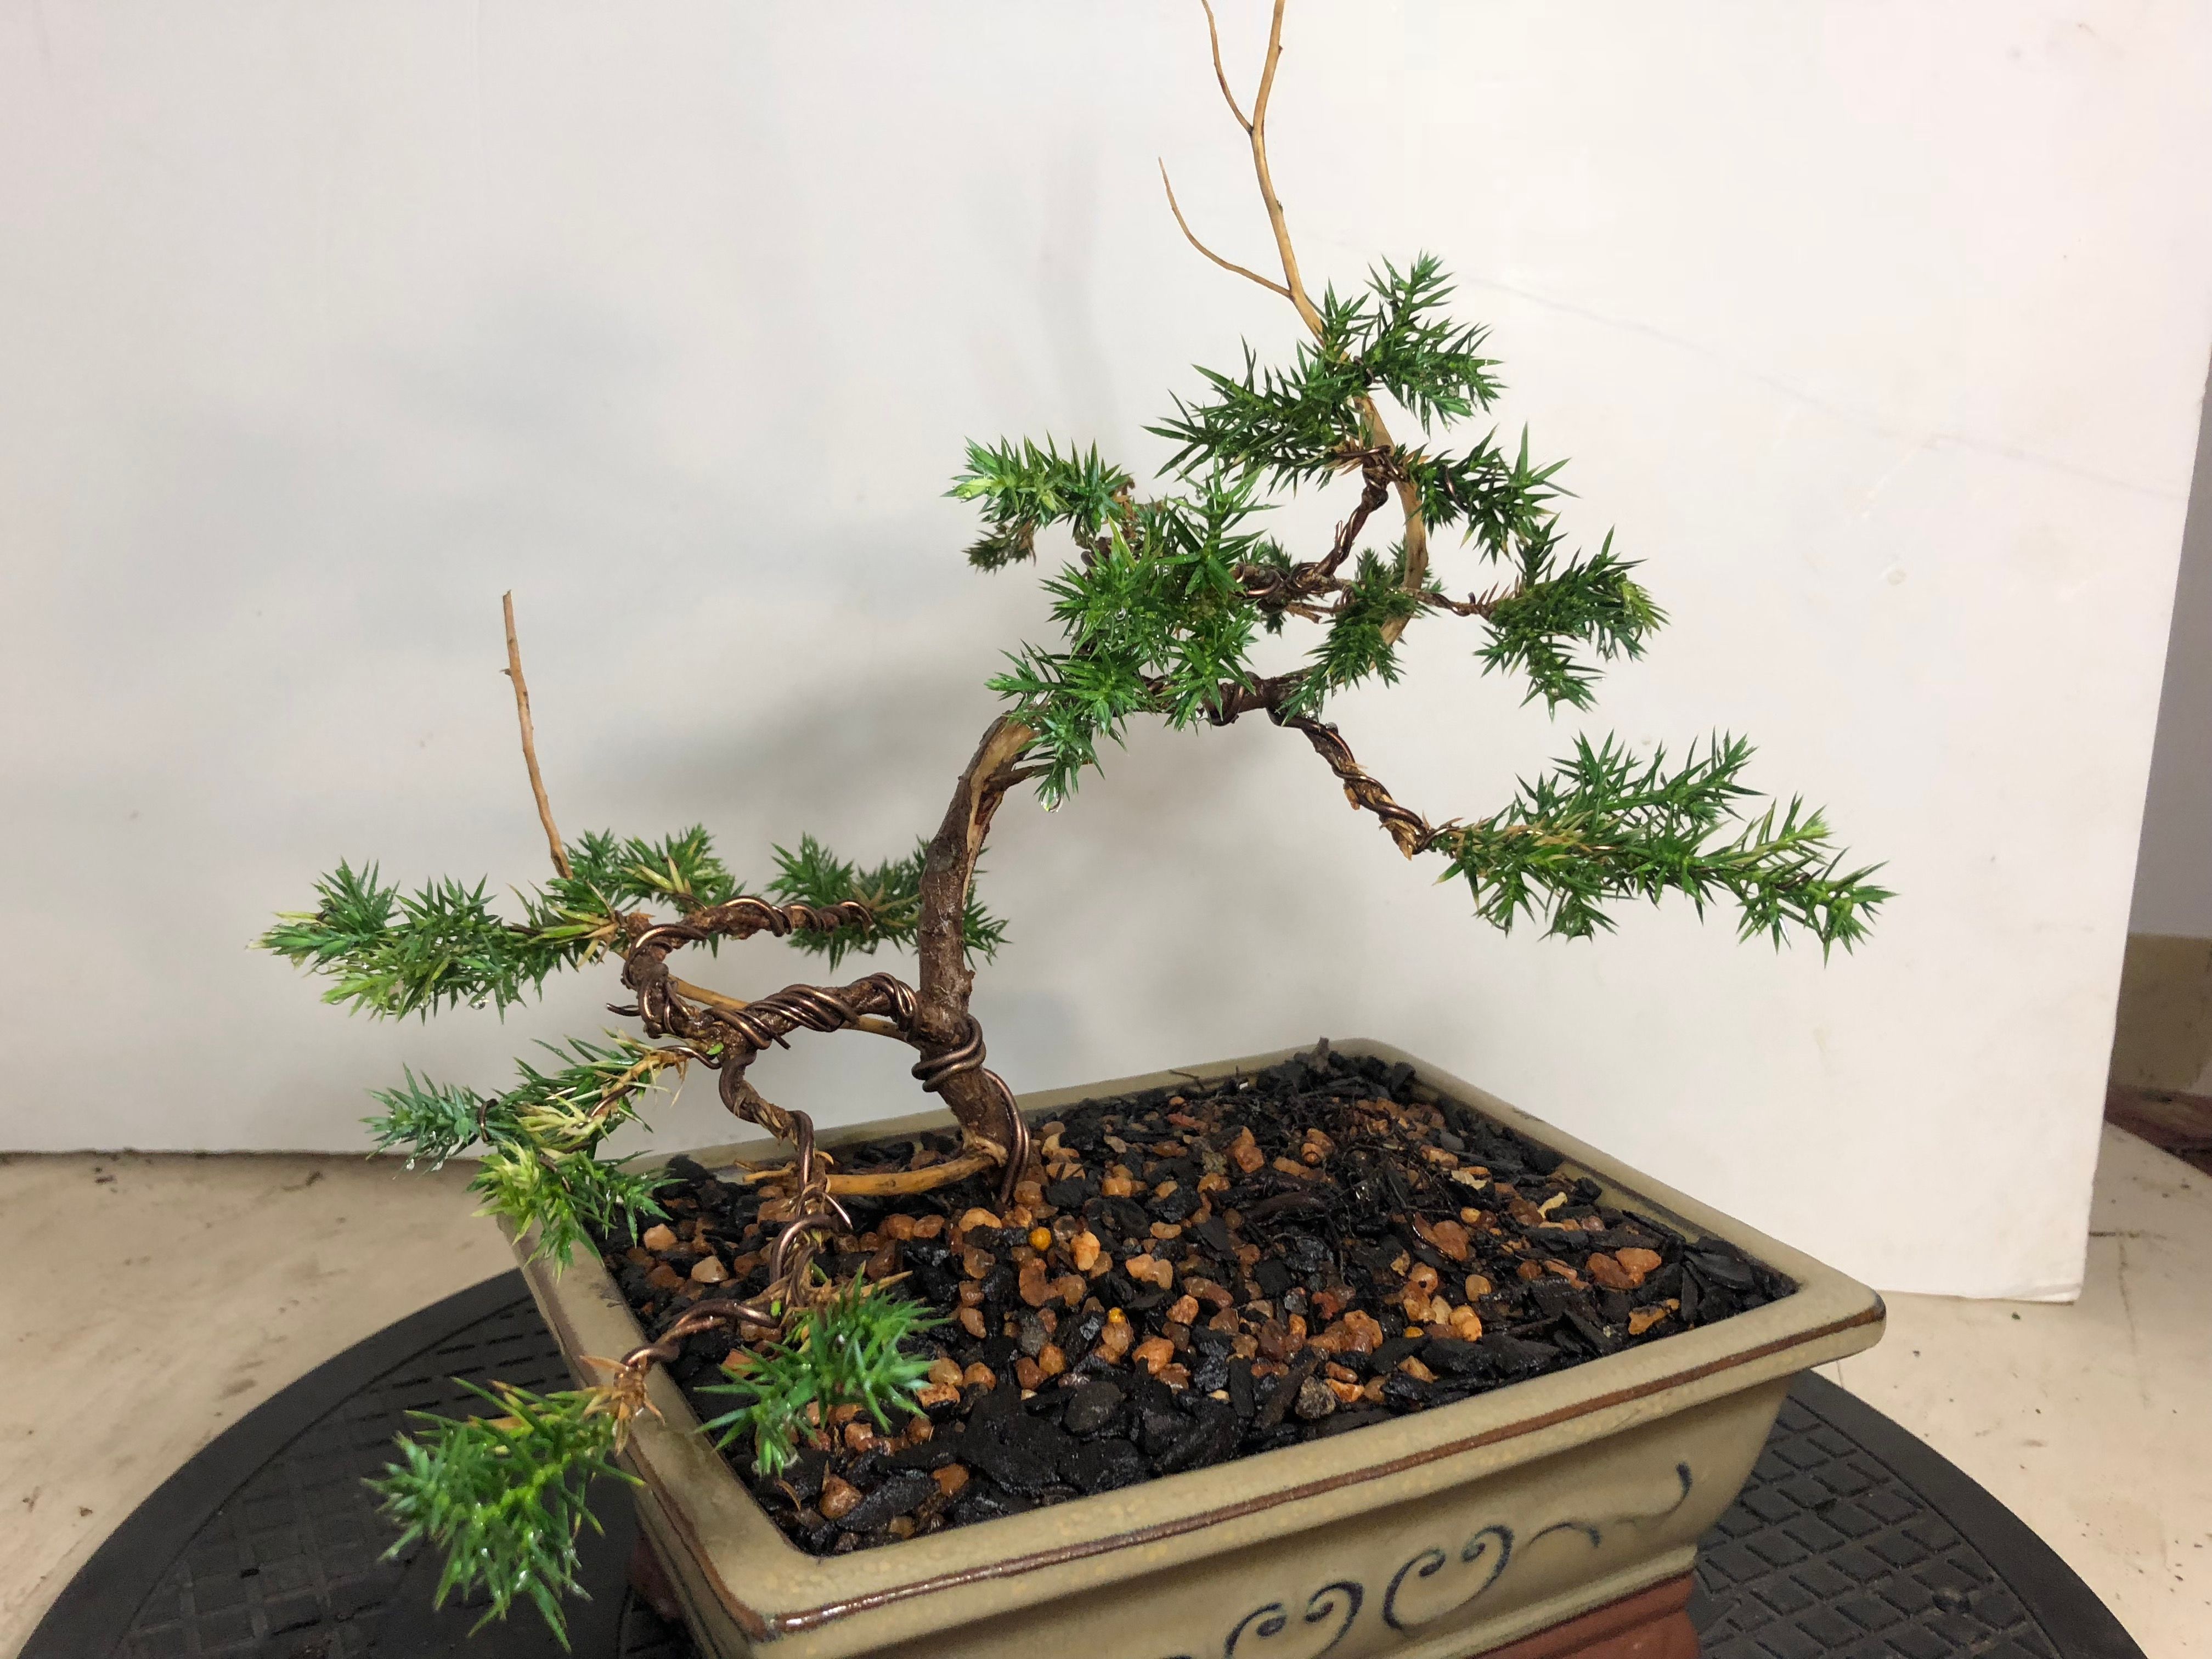
The tree after I styled the entire tree.
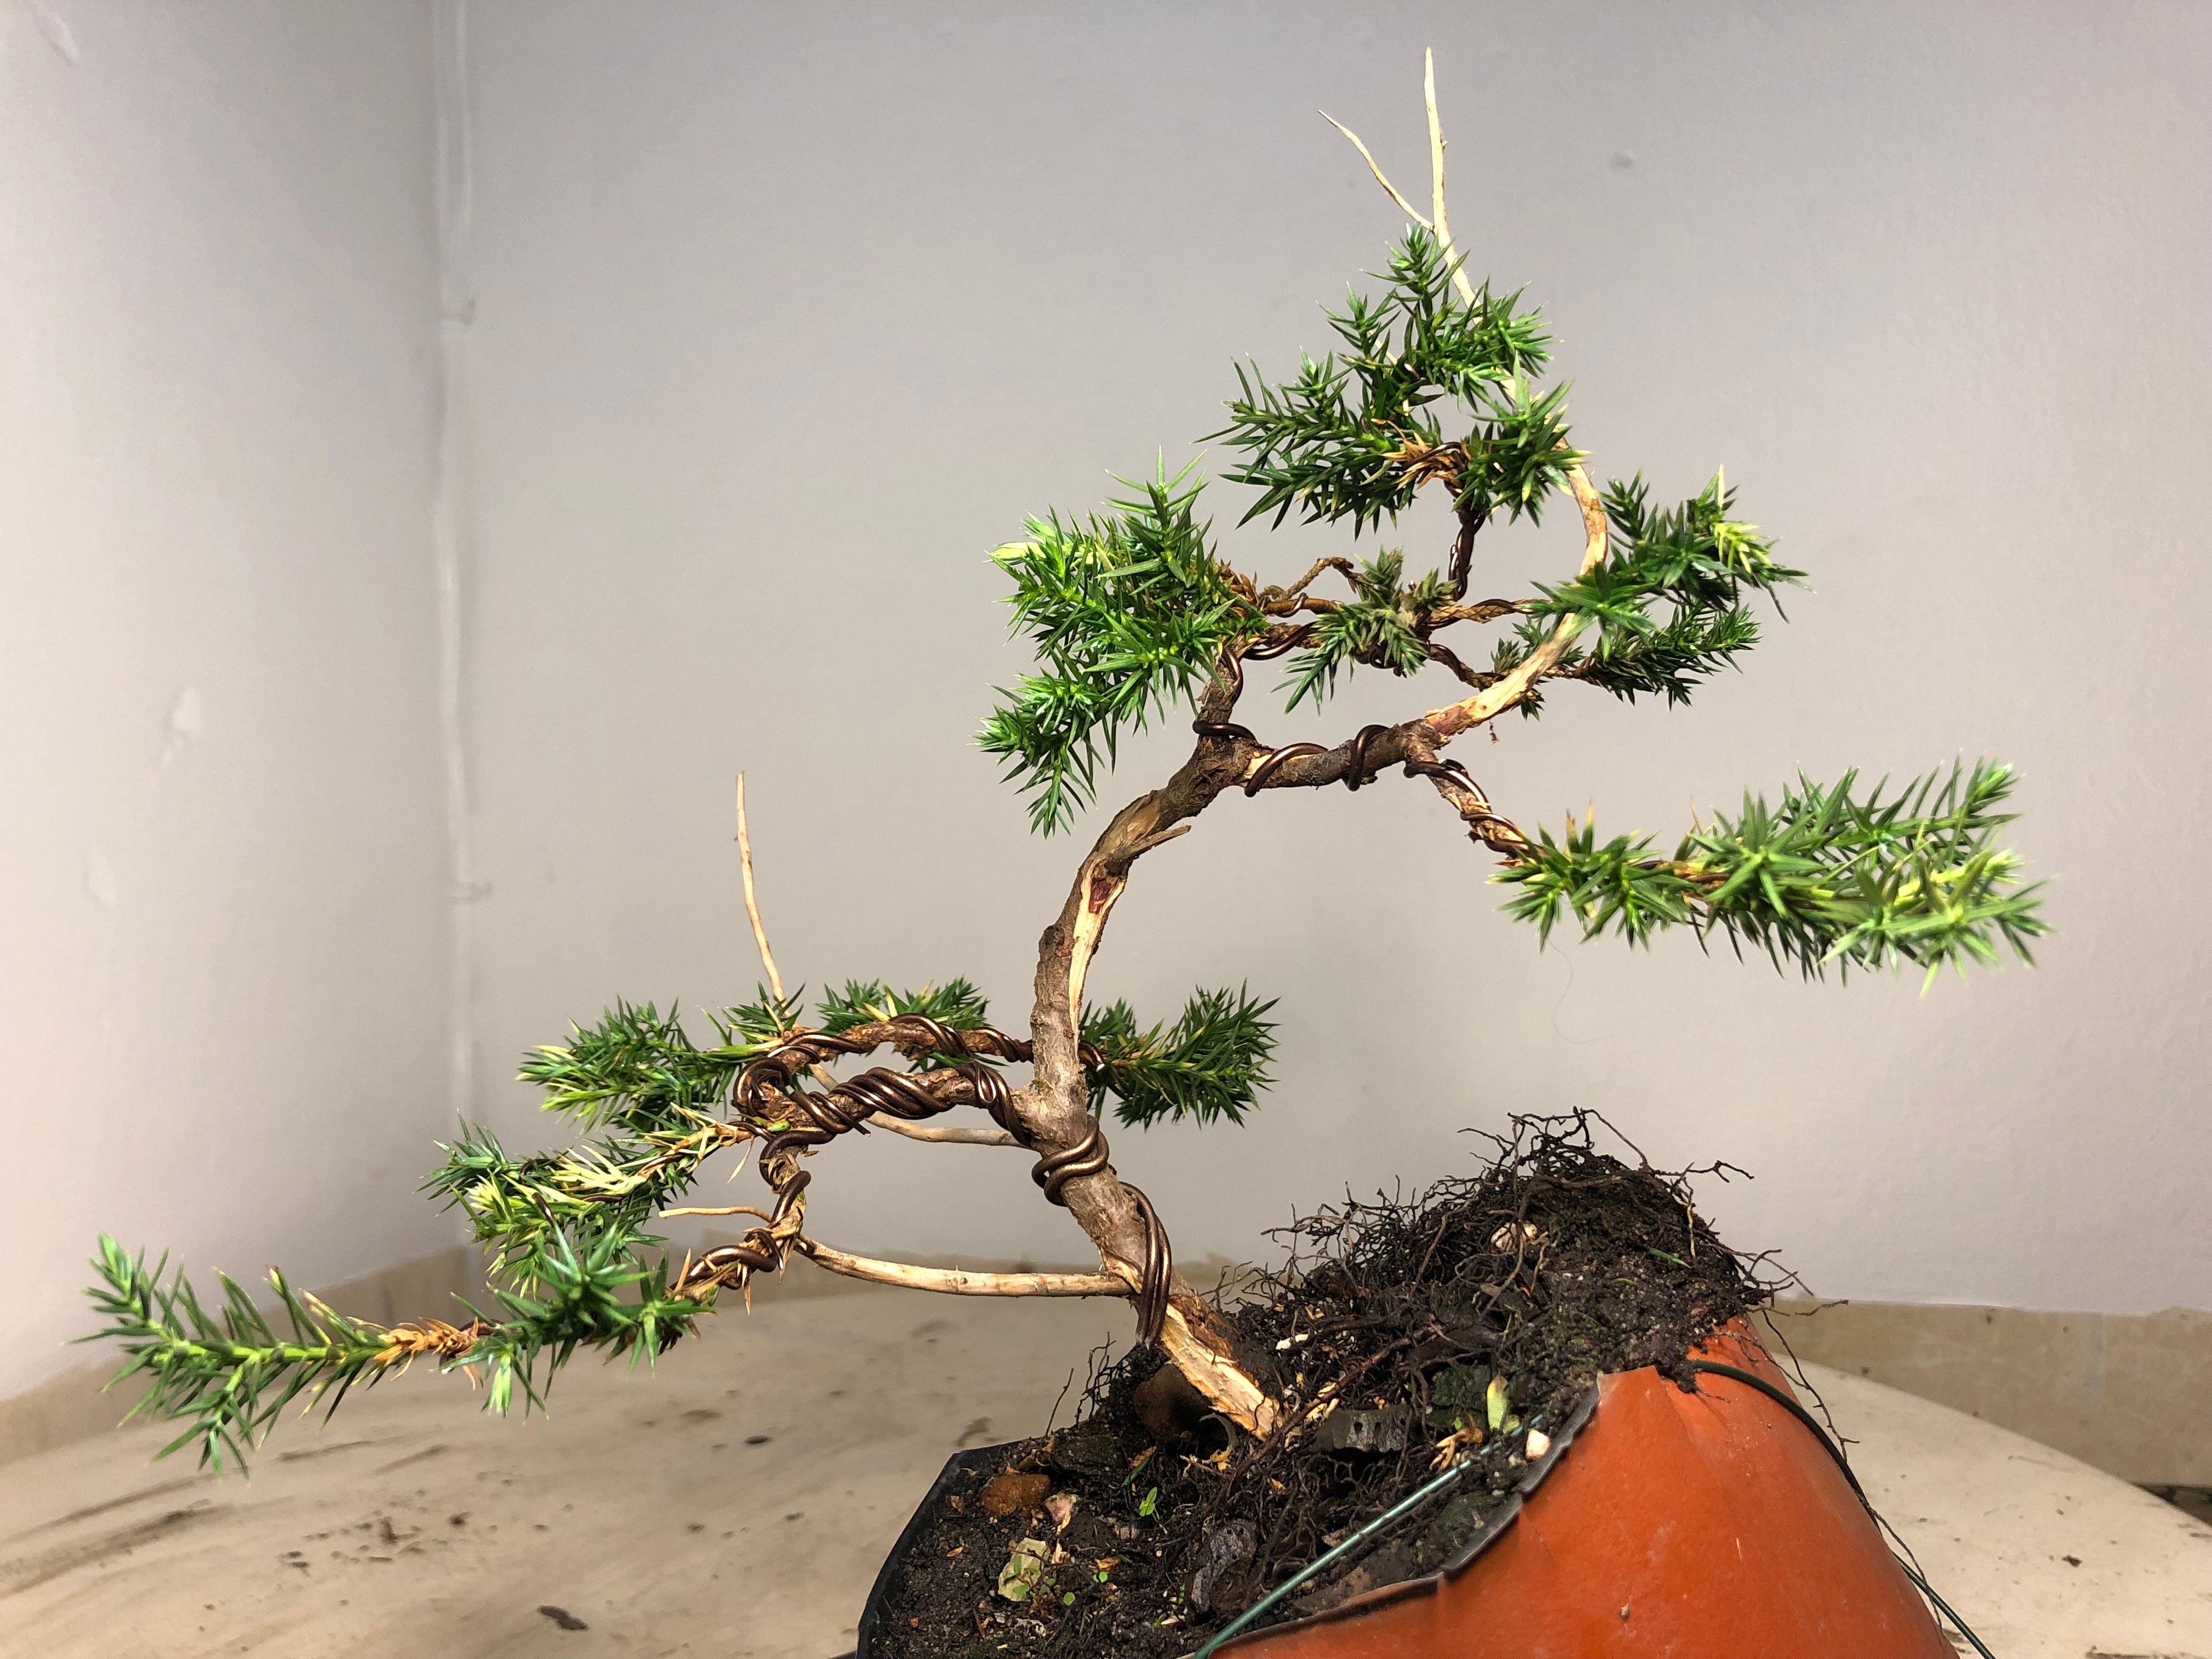
I must confess by this stage of the process I was tired. I wanted to go and sleep so I had to keep on reminding myself that I made a promise to my followers and that I never make promises I can not keep. It was 22:00 when I finished styling the tree. I looked at the tree. Took a few photos and I was happy with the results. It then dawned on me that I should replant this tree. I have changed this trees design drastically and the angle at which the trunk was leaning it would be very had to care for the tree. As water would run of to the side and if I kept it as it was planted in the pot the new growth would not come out as intended.
I had to remove quite a lot of the soil mixture in the pot and in between the roots to get the tree at the right angle. The tree is planted slightly deeper in the pot than it will be when the roots have adjusted to the new angle. I had to remove a few roots to get the tree in the pot but the amount of foliage i removed from the top will balance out the growth in the tree.
Now that this project is behind me I’m proud because it’s another goal that I set and reached. Every tree I finish is like a stage in my journey that I completed.
Here is a time lapse of the styling of this tree.
Thank you for taking the time to read my blog. Please feel free to leave you comments below.


Reblogged this on Wolf's Birding and Bonsai Blog.
LikeLike
Reblogged this on Wolf's Birding and Bonsai Blog.
LikeLike
Nicely done, I really like the way you styled it.
LikeLike